
Convert IMAGE to VIDEO
Image to video conversion: Transforming static photos into dynamic stories.
How to convert image to video file
- Video
- No ratings yet.
In today's digital world, static images no longer hold the same appeal they once did. Audiences crave engaging and dynamic content, and businesses and individuals seek creative ways to breathe life into their visuals. One such method that has gained popularity is image-to-video conversion - transforming still images into captivating videos by adding motion effects, transitions, audio, and other elements.
The rapid growth of video content on social media and marketing platforms has created a demand for easy-to-use and cost-effective video creation tools. According to industry research, videos generate 1200% more shares than text and images combined on social media platforms. This makes video an indispensable tool for brands aiming to boost engagement and visibility.
How image-to-video conversion works
At its core, image-to-video conversion involves using software or online tools to sequence multiple images, apply effects, and export them into a video format. The process typically includes:
- Image selection: Choose a set of high-quality images to form the base of your video.
- Sequence arrangement: Arrange the images in the desired order to tell a story or convey a message.
- Add transitions and effects: Introduce dynamic transitions between images and add visual effects such as zoom, pan, or fade.
- Incorporate music and text: Background music, voiceovers, and text overlays can add context and emotional depth to the video.
- Export the final video: Save the final product in the desired format, ready for sharing or embedding.
Tools to convert images to video
Several user-friendly tools can transform your photos into videos with ease:
Desktop video editing software:
-
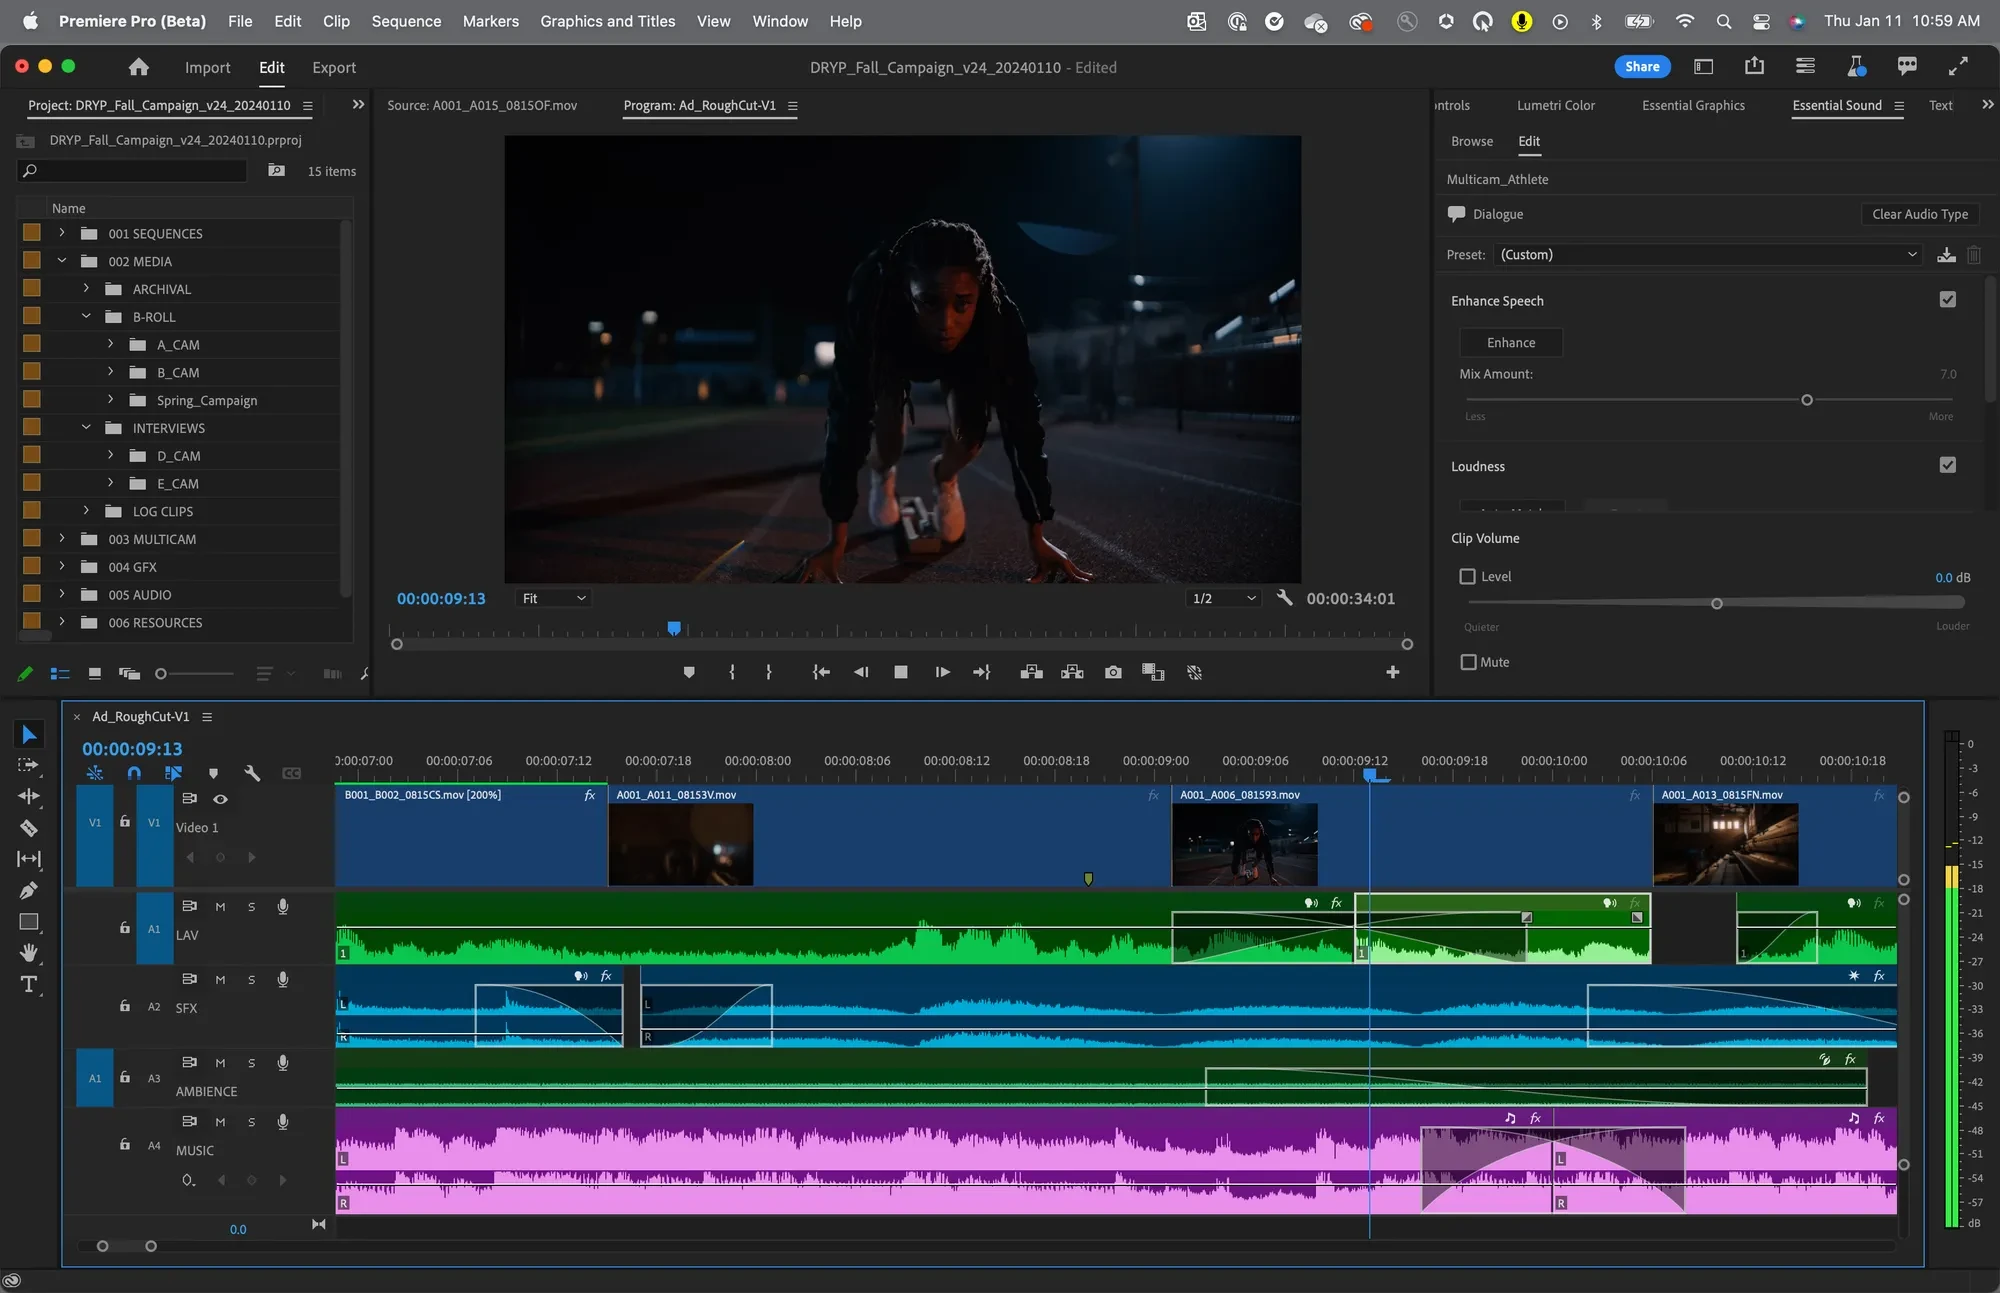
- Adobe Premiere Pro: A professional-grade editor offering custom transitions, effects, and animations.
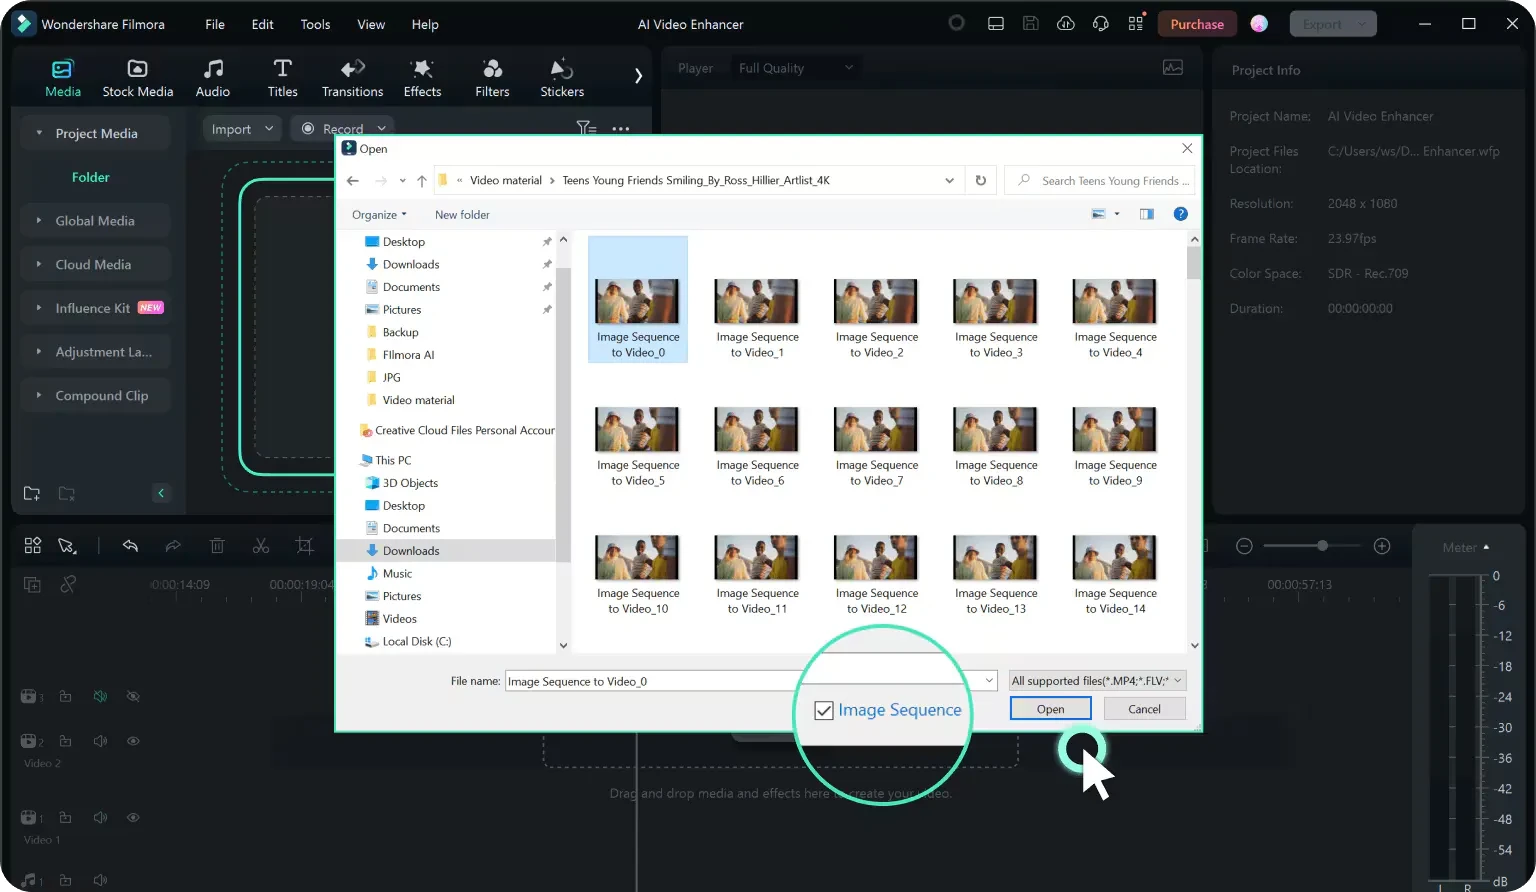
- Filmora: Beginner-friendly with drag-and-drop features for quick video creation.
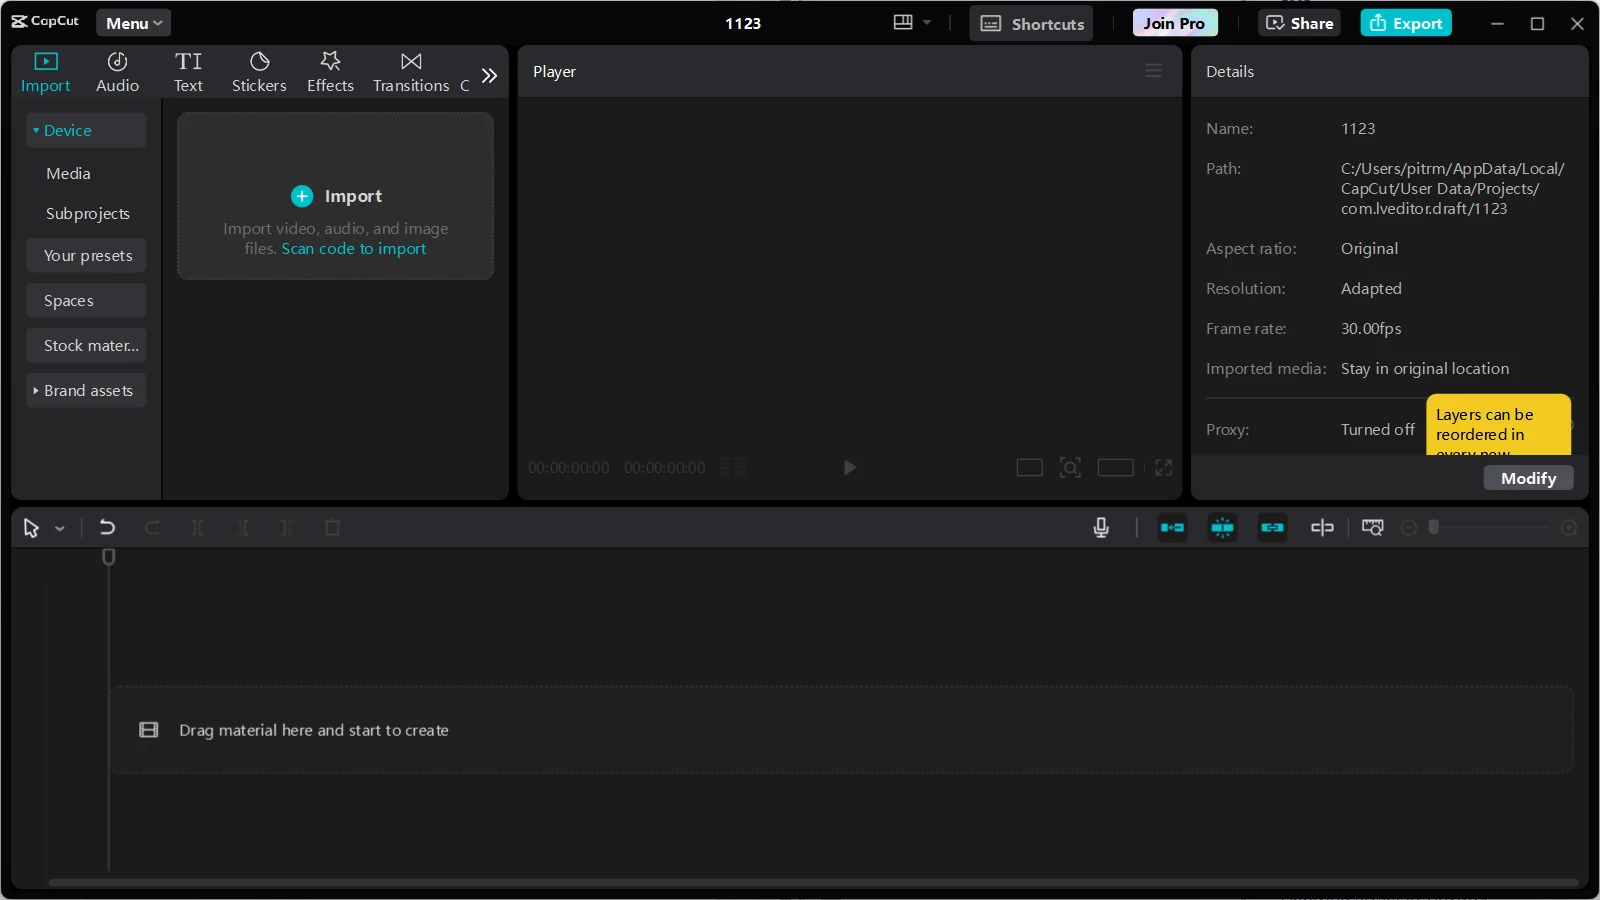
- CapCut, CapCut Foto Video Maker
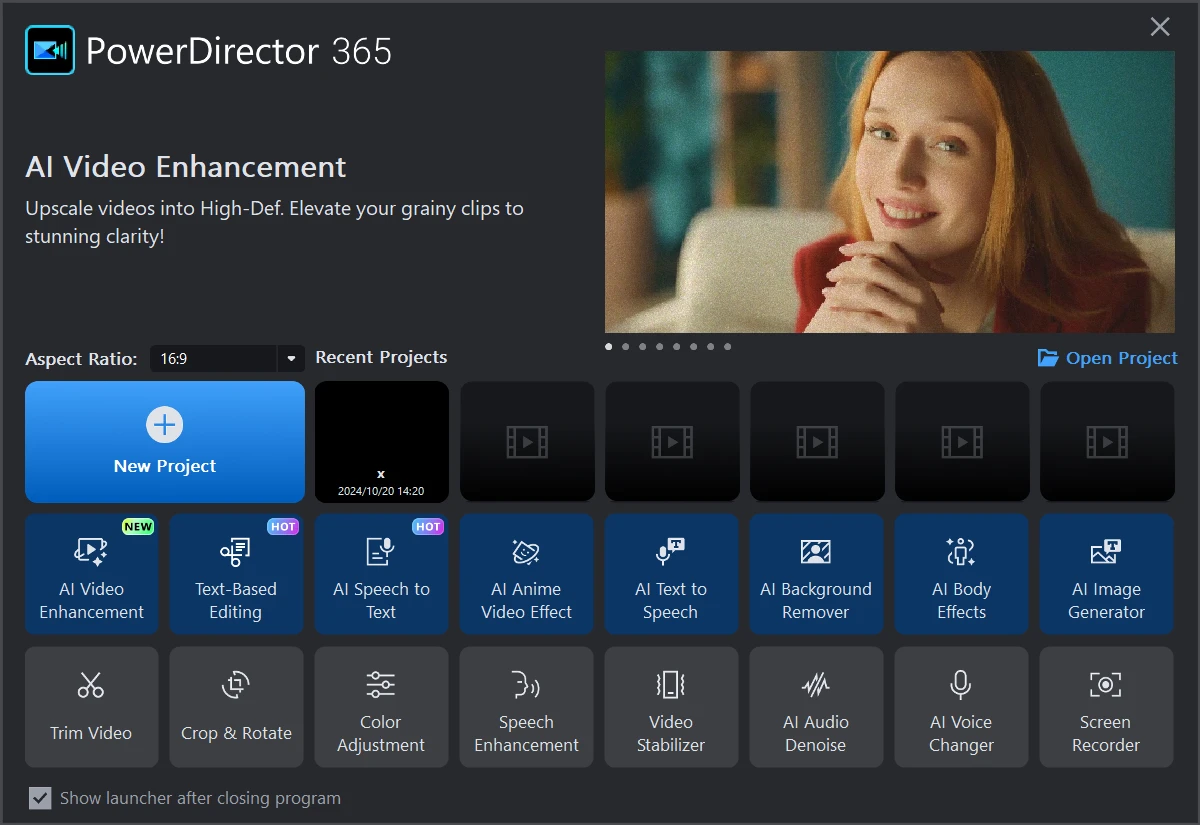
- Cyberlink PowerDirector 365 and other similar video editing software.
- Microsoft Photos (Windows) or iMovie (Mac): Free options for basic slideshows.
- Adobe Premiere Pro: A professional-grade editor offering custom transitions, effects, and animations.
Online tools:
-
- Canva: Known for its templates and ease of use.
- Kapwing: Ideal for quick video creation with images, text, and music.
- FlexClip: Offers built-in templates and stock media.
Mobile apps:
-
- InShot: Perfect for Instagram-ready videos.
- KineMaster: Comprehensive editing on the go.
- Quik by GoPro: Automatically syncs images to music.
A step-by-step guide to converting images to video
Step 1: Gather your images
- Select high-resolution images to ensure video clarity.
- Organize the photos in the desired sequence to maintain flow.
Step 2: Choose your tool
- Depending on your level of expertise, pick a tool that suits your needs and system.
Step 3: Import images
- Upload your images to the chosen platform. Most tools allow bulk uploads for convenience.
Step 4: Add transitions and effects
- Apply transitions such as fades, wipes, or zoom-ins to maintain viewer interest.
- Experiment with filters or animations to add a professional touch.
Step 5: Incorporate music and text
- Choose background music that complements the video’s theme.
- Add captions, titles, or subtitles for clarity and context.
Step 6: Preview and export the final video
- Preview your video to ensure seamless transitions and timing.
- Export the final video in the desired format (e.g., MP4, MOV).
Conclusion
Converting images to videos is a powerful way to bring your visual stories to life. With the right tools and techniques, you can create engaging, high-quality videos that captivate audiences and leave a lasting impression. Mastering this skill opens endless creative possibilities for personal or professional use.