Convert CUR to ANI
How to convert cur to ani. Creating animated Windows cursors from regular cursors. Available cur to ani converters.

How to convert cur to ani file
- Graphics
- No ratings yet.
Converting a static cursor file (.cur) into an animated cursor (.ani) can be a way to personalize your Windows experience. While both file formats are used for mouse cursors on Windows, their purposes differ: .cur files hold a single cursor image (static), whereas .ani files contain multiple frames that cycle through an animation. Below is a brief overview of the process to convert .cur to .ani.
Difference between CUR and ANI formats
- CUR is a single-image cursor format often used for pointers and simple icons.
- ANI is an animated cursor format containing multiple frames (images) displayed sequentially. The .ani extension (short for “animated cursor”) is a format recognized by Microsoft Windows. Windows provides built-in functionality to load and animate these files within its operating system.
Because .ani files require multiple frames, it’s impossible to directly save/convert one .cur image as an .ani without additional images or frames. You will need several .cur files (or similarly sized images) that create an animation sequence together. Alternatively, you can generate multiple frames from a single image by slightly modifying it frame by frame.
If you want to create or use animated cursors, Microsoft Windows is the primary (and essentially only) platform that supports *.ani files natively. While macOS does allow some degree of customization through third-party apps or overlays, it cannot directly read or apply .ani files for the system cursor.
Choose a mouse cursor editor
To create animated cursors, you need specialized software. Here are two popular options:
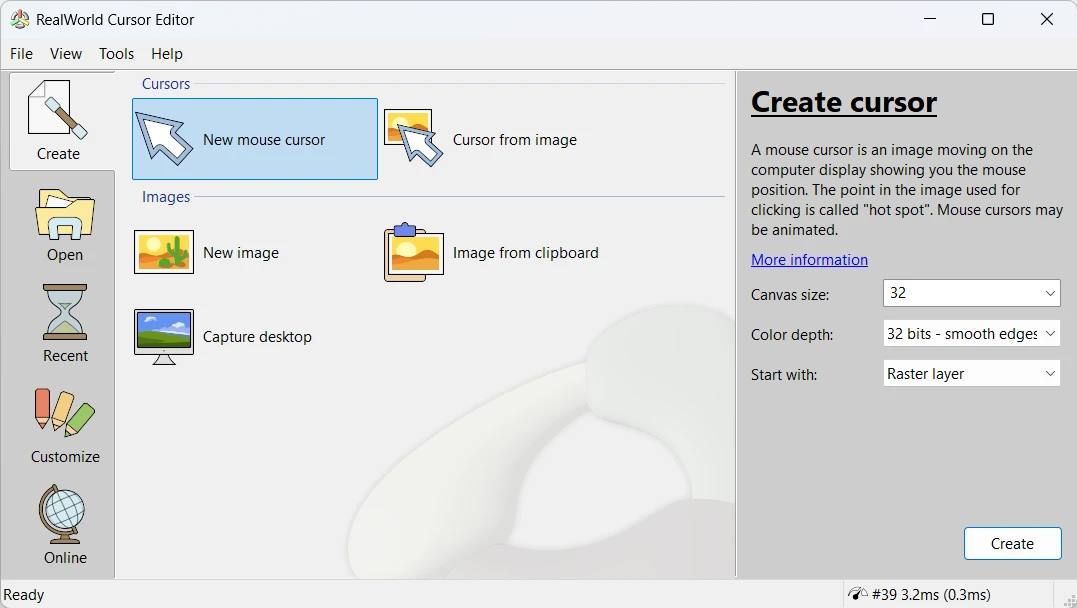
- RealWorld Cursor Editor (free) lets you create static and animated cursors from scratch or by importing image files and customizing the Windows cursor theme.
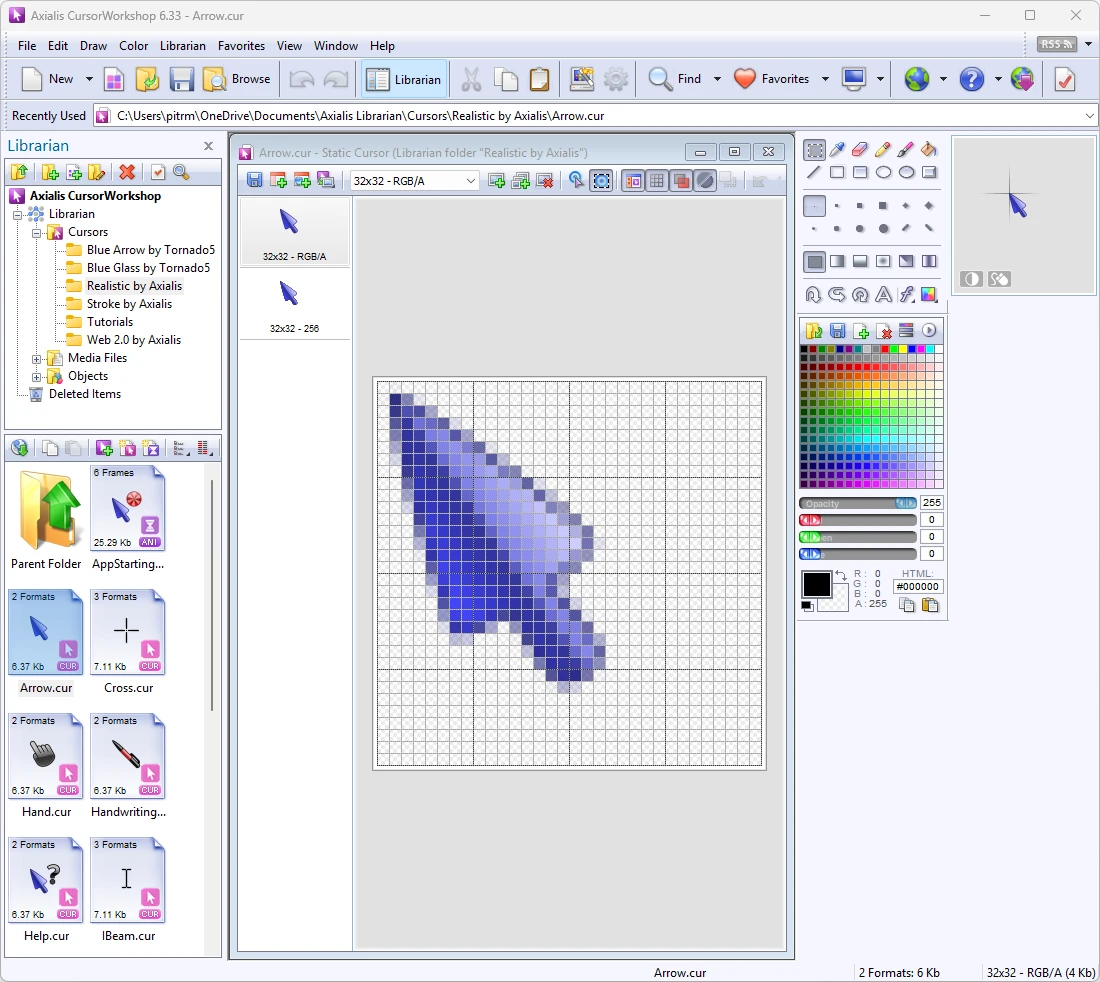
- Axialis CursorWorkshop (paid) offers advanced professional icon and cursor design features, including animation tools.
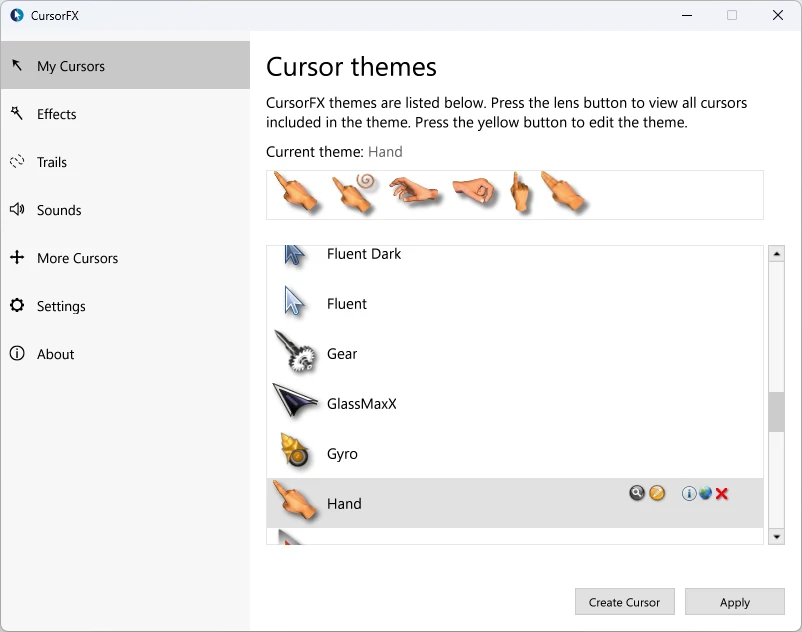
- Stardock CursorFX, or as part of the ObjectDesktop bundle (paid) - edit mouse cursors in the Windows theme, create your own, animate, and download thousands of mouse cursors.
Create or collect cursor frames
To build an animated cursor, you need at least two frames:
- Import one or multiple .cur files (or images like .png, .bmp, etc.) into your cursor editor.
- Edit or draw new frames if you want a smoother animation.
- Organize the frames logically (e.g., each frame showing a slight change from the last).
Export to the animated .ani cursor format
- Open or start a new animated cursor project in your chosen software.
- Add frames by importing your .cur files or creating new frames.
- Set timing for how long each frame will be displayed.
- Preview the animation to ensure it looks the way you want.
- Save (or export) the project as an .ani file.
Apply your animated cursor in Windows Settings
After saving your new .ani file, you can set it as your cursor:
- Open Windows Settings → Bluetooth & devices (or Devices on older Windows versions) → Mouse.
- Additional mouse settings (usually found on the right side or at the bottom).
- Pointers tab in the Mouse Properties dialog.
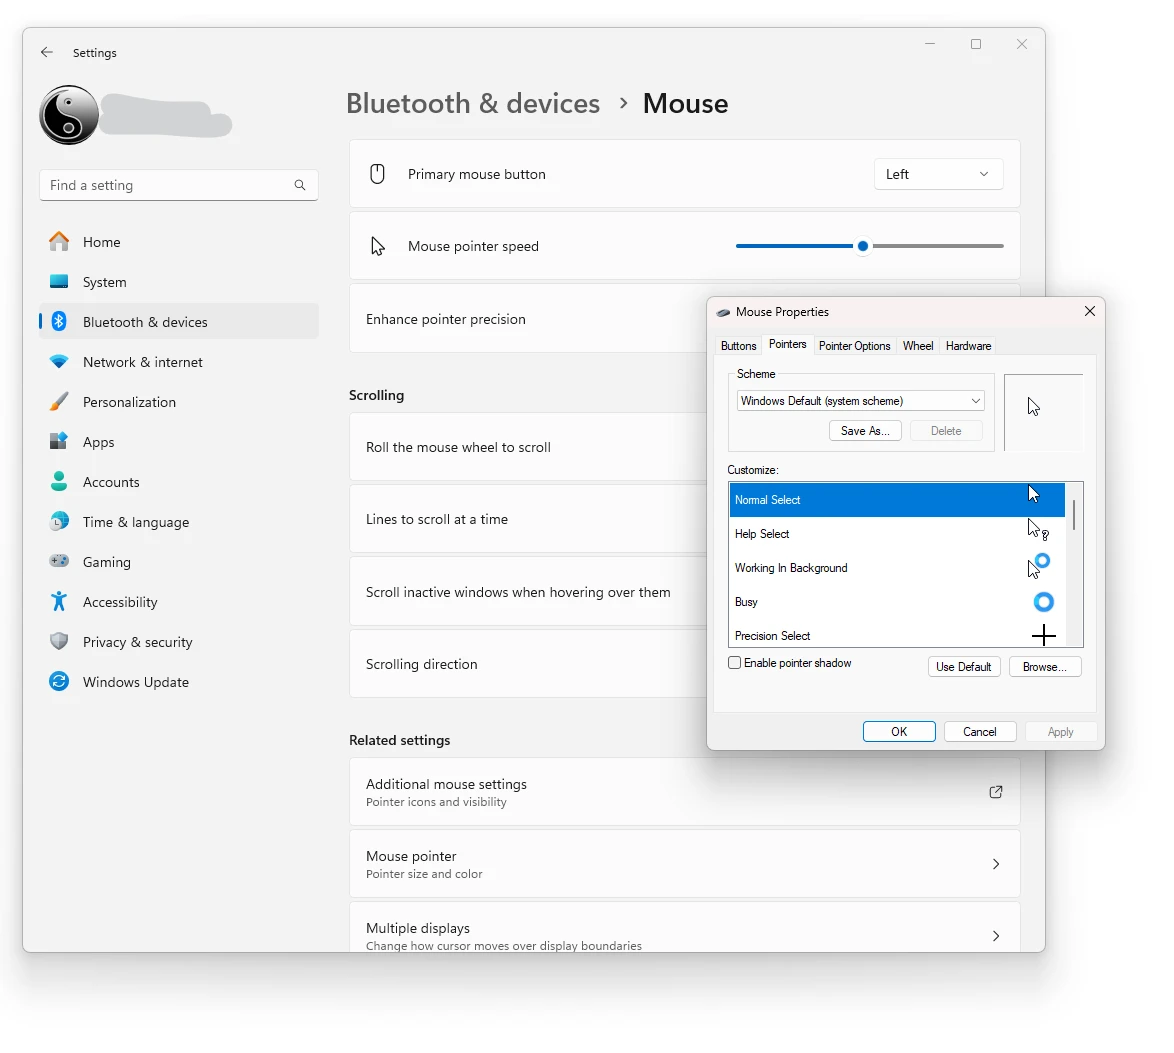
- Browse to select your new .ani file for the appropriate cursor role.
- Click OK or Apply to confirm.